A dryer vent checklist earns its keep twice: once as the list of things you can check yourself between visits, and once as the standard you hold a paid cleaning to. Here is what belongs on each.
Before you call: what to check yourself
Start at the lint trap. Clear it before every load, which is what the NFPA advises, and wipe the trap slot now and then, since dryer sheet residue leaves a film that cuts airflow. Then walk outside and look at the termination cap. It should sit flush to the wall or roofline, and the damper flap should swing open while the dryer runs and fall closed when it stops. Behind the machine, look for a sagging or crushed transition hose and for tape holding a joint together, both of which point to hardware rather than lint. Last, time a normal load against what you remember from last year. A cycle that has grown by twenty minutes is worth reporting when you book.
What a full cleaning should include
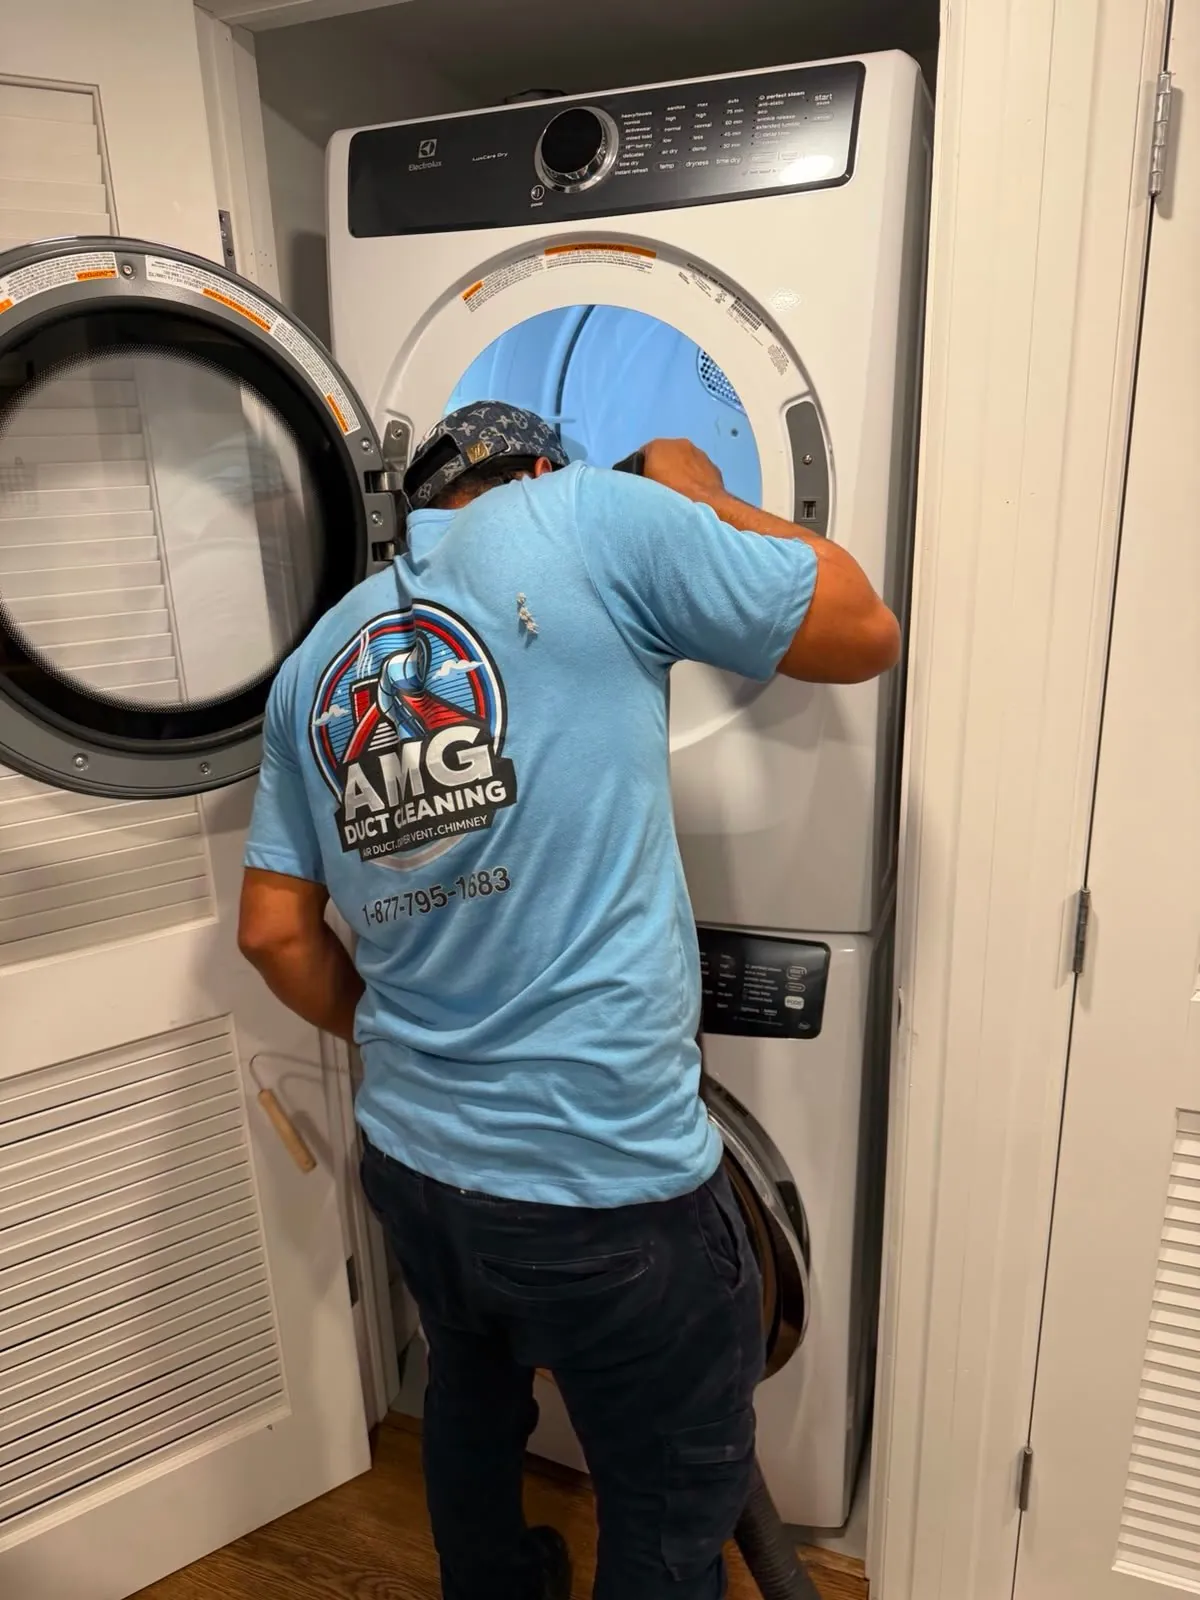
A complete dryer vent cleaning covers the whole length, from the connection at the dryer to the exterior cap, rather than whichever end is easy to reach. It clears the elbows, where buildup gathers first and heaviest. The technician should inspect the duct material and every connection for damage, confirm the cap and its flap move freely, and test airflow at the end to demonstrate the run is clear rather than inferring it from the size of the lint pile.
If the visit turns up work beyond the cleaning, a crushed section, a joint that has come apart, foil venting that should be replaced with metal, that gets explained and priced before anyone starts it, not folded into the invoice afterward.
Red flags that belong on every checklist
A few details change the shape of the visit rather than the cleaning. Flexible foil or vinyl accordion venting, common in older New Jersey homes with basement laundry, should be named when you book so the technician arrives expecting it. A vent that exits through the roof changes both the access and the equipment. Any history of pests near the cap, or a dryer that has shut itself off mid-cycle, belongs in the first phone call rather than in a discovery halfway through the job.
After the cleaning: what to confirm
Run a load and time it against your usual cycle. Step outside and watch the flap, which should be held open by a steady push of warm air. The laundry room should feel cooler and less humid during a cycle than it did the week before. Those three checks take five minutes and turn a claim into a confirmation.
The exterior cap deserves a separate look once the weather turns. Lint that collects on the outside of a flap freezes there after a cold night and holds the flap partly open, which lets cold air and small animals back down the run. A screen or cage fitted over a cap to keep birds out will pack with lint long before the duct behind it does, so if yours has one, check it as often as you check the trap. If snow drifts against a wall cap, or a shrub has grown across it since spring, clear a few inches around the opening so the flap has room to swing.
A simple habit through the seasons
Past any single visit, keep a rhythm: clear the lint trap every load, look at the exterior cap every few months, and book a full cleaning on an interval that matches your laundry volume and the length of your run. Tying that booking to something already on the calendar, such as the seasonal HVAC filter change, is what keeps it from slipping two years.
Keep a short written record too, even a note on the inside of a cabinet door with the date of the last cleaning and whatever the technician flagged. It gives you a reference point next time, and it makes a slow trend visible, like drying times climbing faster after each cleaning than they did the year before.
Take the checklist to the machine this week. The lint trap, the flap outside, and the hose behind the dryer are three checks and ten minutes, and between them they tell you whether the run is moving air or asking to be cleared end to end.