
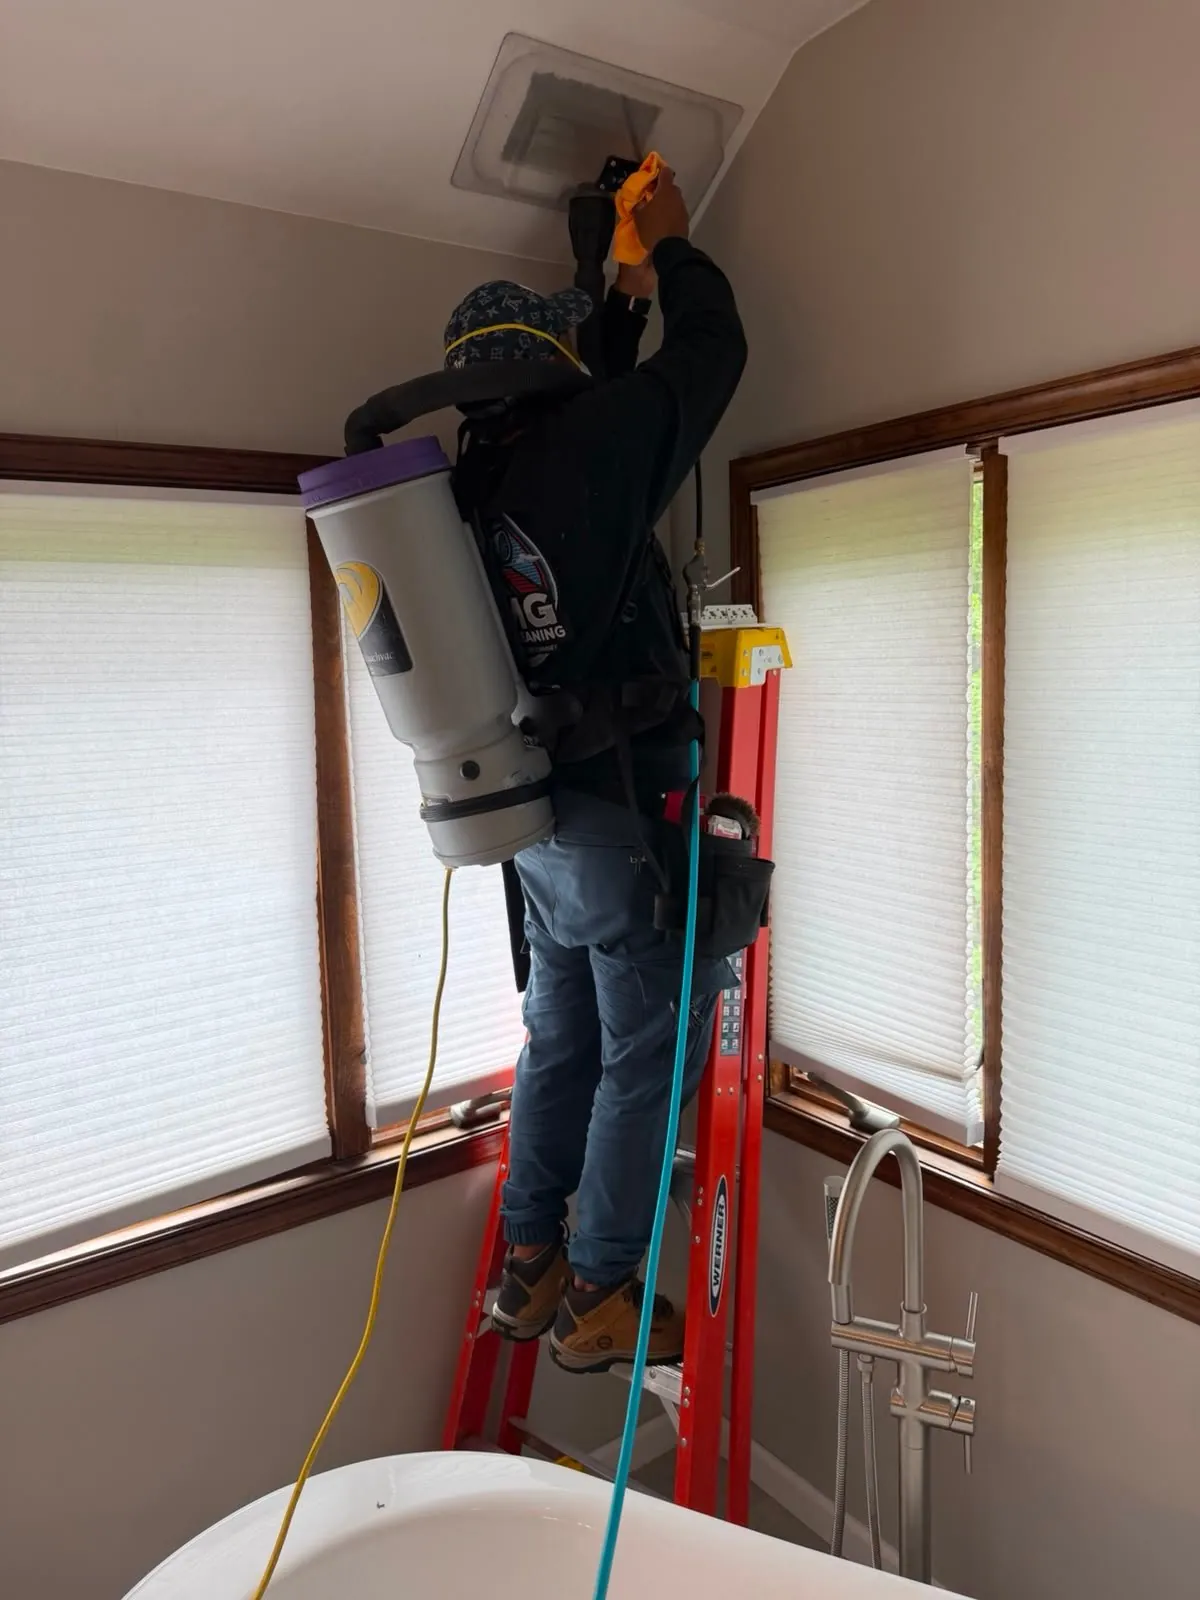
Homeowners booking their first air duct installation rarely know what the working days will look like inside the house. Knowing what happens at each stage makes the schedule easier to plan around, and it makes it easier to tell whether the project is moving the way it should.
The initial assessment
Before anything gets installed, someone walks the house: the existing ductwork if there is any, the furnace or air conditioner the new run has to tie into, and what you want the system to do, whether that is a full new layout, a replacement, or bringing an addition onto what is already there. Measurements come off the house at this stage, and obstacles like a plaster wall or a single small attic hatch get identified while the plan can still change.
This is the stage to ask about the proposed route, the material, and the sequence of the work. Questions answered here cost nothing. The same questions asked after the drywall is closed cost a repair.
Planning the route
With the assessment done, the trunk and branch path gets drawn across the rooms, along with where each register and return will sit and how airflow gets balanced between floors. This stage also settles the material and the system type, whether that is traditional sheet metal or something better suited to a tight cavity in an older house.
Tradeoffs get named out loud here too. A register that performs better in one corner of the room may sit where you wanted a bookcase. Those calls belong to you, made now rather than discovered at the walkthrough.
Preparing the work area
Before installation starts, flooring and furniture near the work get covered and the access points get cleared. You should know in advance which parts of the house the crew will be in on which day, and roughly how long that stage runs, so the rest of the household can work around it.
The installation itself
This is where the trunk and the branches get run along the planned path and connected to the furnace or air handler. Every joint gets sealed as the run goes up rather than left for a later pass, because sealing a joint after a ceiling closes over it means opening the ceiling again.
How long this stage takes depends on how much of the route is open and how much has to be threaded through finished space. That ratio, more than square footage, is what sets the number of days, and it is why the planning stage carries the schedule.
Testing and walkthrough
With the system in, airflow gets checked at every register and the run gets checked for leaks before anyone calls the job done. Then the work gets walked with you, including anything worth doing later, such as insulating a run that crosses an unconditioned attic or scheduling an air duct cleaning on an older section that stayed in service.
After the crew leaves
Life with a new duct system is ordinary maintenance rather than anything unusual. Filters get changed on the same schedule as before, since new duct does not change how fast a filter loads. Keep an eye on airflow at each register over the first few weeks. A sound system holds what it delivered at the walkthrough, so any drop is worth a phone call rather than a wait.
Touch up items from the walkthrough, a register cover that sits proud of the wall or a small patch at an access cut, get scheduled and closed out soon after the main work rather than left open. Keep the project paperwork, including what was installed and where each run travels, because the next technician in that basement will save an hour by reading it.
Cleanup and final details
Cleanup belongs to the job, not to you. Cut metal, offcuts of flex, packaging, and the drop cloths go out with the crew, and access panels go back on with their screws rather than leaning against the wall. Before you sign off, open every register and confirm air is moving at each one, then look at the two or three joints you can still reach and check that each shows sealed mastic or tape. Those two minutes are the last chance to catch something while the installer is still in the driveway.