Air duct cleaning looks straightforward from the outside: someone shows up, cleans the ducts, and leaves. In practice it is a sequence built around one goal, pulling debris all the way out of the system instead of knocking it loose and letting it settle somewhere else. Knowing what each step involves tells you what you are paying for and what the day looks like with a crew in the house.
Step one: inspection
Before any equipment gets connected, the technician walks the house to learn the duct layout: how many supply and return lines there are, where the trunk line runs, and where the air handler and furnace coil sit. Layouts differ house to house. A raised ranch in Morris County does not share access points with a colonial in Bergen County or with a home whose duct runs through a crawl space in Monmouth County. The inspection also surfaces the oddities, like a branch that was extended during a remodel and never re-supported.
This is also when the technician spots anything that changes the plan for the day: a section that has come apart at a joint, a run that has been crushed against a joist, or an access point that takes more work to open than expected. Finding those before the vacuum starts lets the crew plan around them instead of hitting a surprise halfway through.
Step two: connecting the negative air machine
With the layout understood, a negative air machine gets connected to the main trunk line. It pulls air through the entire duct system toward one collection point. The order here carries the whole job: anything dislodged during the cleaning travels toward the machine and out of the house, rather than being pushed deeper into the run or blown into a room through an open register.
Step three: agitating each line
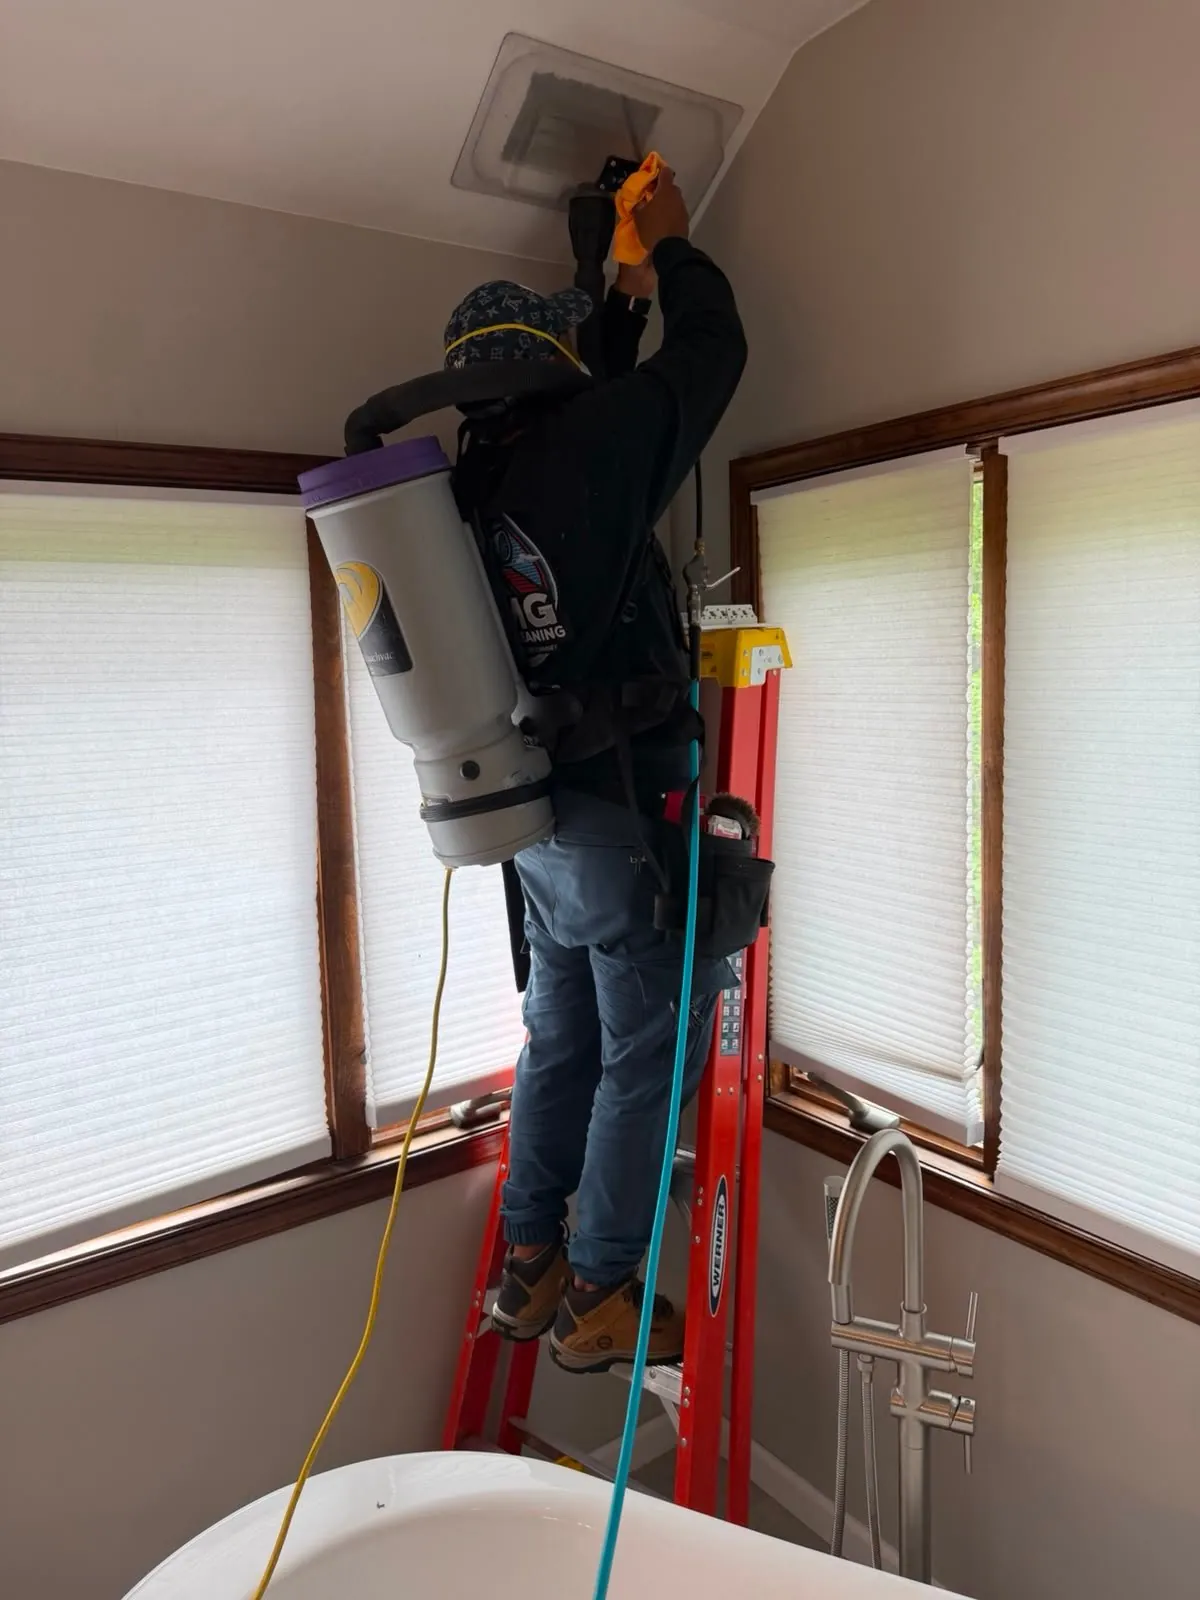
With the vacuum running, the technician works each supply and return branch one at a time, using rotating brushes or air whips to break loose the dust, dander, and debris packed against the interior walls. The work goes section by section rather than all at once, because runs carry different loads depending on how close they sit to the air handler and how much air moves through them in a normal week.
Step four: registers, plenum, and the coil area
Every supply and return register comes off, gets cleaned, and goes back on, along with the plenum, the central chamber tying the trunk lines to the air handler. The area around the air handler and furnace coil gets the same attention, since debris collects there and sits directly in the path of the air the system moves. Skipping that area is the most common shortcut in a cleaning that only addresses what a homeowner can see from the hallway.
Step five: final walkthrough
With every line cleaned and every register back on, the technician walks the results with you. This is where you see what came out of a system that in many homes has never been viewed from the inside. It is also the moment to ask about anything noticed along the way, such as a branch with unusually heavy buildup or a joint that has started to separate and belongs on a list for air duct repair.
Why the order of operations matters
Each step leans on the one before it. Skip the inspection and the technician is working blind. Agitate the ducts before the negative air machine is running and the dust goes into the house rather than out of it. Clean the visible registers but leave the plenum and coil area alone, and the hardest working part of the system stays loaded. When you book an air duct cleaning, ask the company to describe its sequence. The answer tells you, in about thirty seconds, whether the crew is cleaning the system or cleaning the grilles.